Table of contents
In a NextJS app, when you visit a URL that is not available in your project, you will be redirected to a 404 page. This page comes default without any setup whatsoever. For many developers, this is quite enough but for those looking to add a custom look or maybe even have a button to redirect the user to another page, In this article, I'll walk you through the process on how to create a custom 404 page in NextJS.
According to the Next docs, a 404 page may be accessed very often, so server-rendering this page for every visit increases the load of the Next.js server. This can result in increased costs and slow experiences.
To avoid the above pitfalls, Next.js provides a static 404 page by default.
Here's a screenshot of what that page looks like:

There isn't much happening on this page as you can see, except that the color theme is dynamic, so if you're on dark mode, this page would be dark and vice-versa.
Customizing the 404 page
Here's the TLDR version
To create a custom 404 page create a 404.js file inside the pages directory of your project. This automatically replaces the default 404 page that comes built-in. This page works the same way as a regular page in a NextJS app, so you can customize it anyhow you want, which is what we'll be doing in the next section.
Since we've created our 404.js file, copy the markup below and paste it inside the file.
// pages/404.js
import Head from "next/head";
import Link from "next/link";
import Image from "next/image";
import styles from "../styles/Error.module.css";
import ErrorImage from "../public/error.svg";

export default function Error() {
  return (
    <>
      <Head>
        <title>Oops! Page not found</title>
      </Head>

      <main className={styles.errorContainer}>
        <Image
          className={styles.image}
          src={ErrorImage}
          width={640}
          height={220}
          alt="error image"
        />
        <h1>404</h1>
        <p>Opps! This page is lost in space.</p>

        <Link href="/">
          <a className={styles.btn}>Return home</a>
        </Link>
      </main>
    </>
  );
}
First, we imported a few components we'll be needing.
- Head component from
"next/head"for adding a title that will show up on the browser tab. - Link component from
"next/link"for wrapping our URL route to the homepage. - Next's default
Imagecomponent from"next/image"for declaring images. - Our CSS file of course to style the error page and finally our hovering astronaut image.
Now in other to style this 404 page, we'll create the Error.module.css file we imported earlier into our 404 file inside the styles directory. Once created, paste the the following code:
/* styles/Error.module.css*/
.errorContainer {
  display: flex;
  flex-direction: column;
  align-items: center;
  justify-content: center;
  text-align: center;
  max-width: 1200px;
  min-height: 100vh;
  margin: 0 auto;
  padding: 1.5rem;
}

.errorContainer h1 {
  font-size: 5rem;
  font-weight: 700;
  margin: 2rem 0 1rem;
}

.errorContainer p {
  font-size: 1.3rem;
  margin-bottom: 0.5rem;
}

.btn {
  color: blue;
  text-decoration: underline;
}
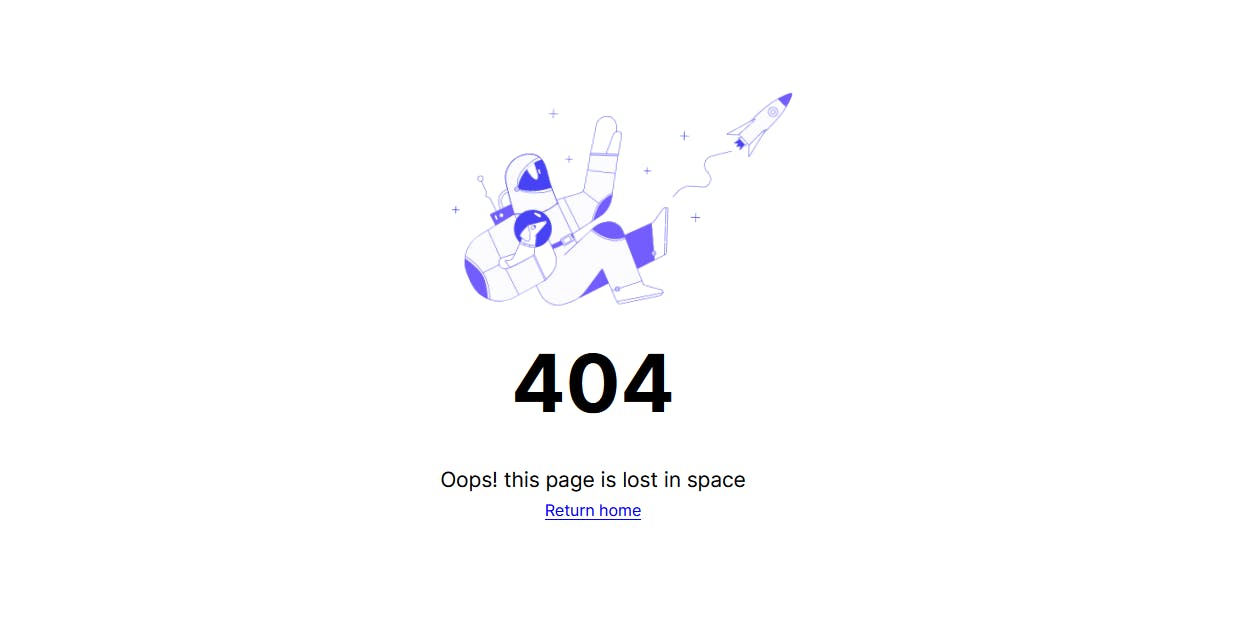
Here's a screenshot of what our 404 page looks like.

And then with a little bit of animation, we can make the static image come alive.
/* styles/Error.module.css*/

.image {
  animation: animate infinite 4s alternate ease-in-out;
  transform-origin: 50% 50% 0px;
}

@keyframes animate {
  from {
    transform: translate3d(10px, -40px, 0px) rotate(0deg);
  }

  to {
    transform: translate3d(25px, 10px, 10px) rotate(-5deg);
  }
}

Inspiration for this 404 page is gotten from Netlify's custom 404 page
Conclusion
Having a custom 404 page in your app is not mandatory, and most developers just like to stick to the default. However, there are a few upsides to customizing it like, deciding where you want your visitors to go next, dropping pieces of information for your visitors to avoid losing traffic to your site, and even for style consistency.
The next time you start working on a NextJS app, consider customizing your 404 page and you'll be glad you did. Hope you got some insights from this article? if you did, share and follow me for similar content and I'll see you in another article. Bye.

