


Table of contents
- Prerequisites
- What is SASS
- How does SASS work?
- Edit on (Jan 02, 2022)
- Step i. Install SASS globally.
- Step ii. Create our directories
- Step iii. Watch SASS
- Installation of Dart SASS locally
- Why Dart SASS?
- 1. Environment Setup With Node SASS
- Step i. Download and install node
- Step ii. Create a package.json file
- Step iii. Install Node-sass
- Step iv. Create an NMP script to run SASS
- Step v. Create our respective folders and files
- Step vi. Start SASS
- Issues with Node SASS
- 2. Installation using Koala GUI Compiler
- Step i. Install Koala GUI
- Step ii. Create the respective files and folders.
- Step iii. Add project folder to Koala
- 3. Live SASS VS Code Extension
- Step i. Download & Installation
- Step ii. Configuration
- Final Words
- Important links to checkout
Knowing what compiler to use for your SASS project can be daunting to decide on because there are numerous apps and extensions for doing that, so I'll be sharing with you three awesome ways you can install and get SASS up and running in your projects.
Prerequisites
- Basic knowledge of HTML
- Basic knowledge of CSS
What is SASS
SASS is a CSS preprocessor/precompiler that enhances the functionality of CSS. It has awesome features that help make writing CSS a lot smarter and easier. SASS stands for "syntactically awesome style sheet".
How does SASS work?
Sass uses .scss or .sass file extensions, but .scss is by far the most popular.
The browser does not read SASS files directly, they must be compiled to CSS, and there are many programs for compiling SASS files to CSS which we'll be discussing in this article.
This article uses the .scss syntax because it is widely used and easier to work with. But you can go with the .sass extension and syntax if you want.
Edit on (Jan 02, 2022)
On Oct 26, 2021, The SASS core team released major updates to the SASS language, which deprecated LibSass, Node Sass, and SassC. In this edit, I'll be sharing the updated and recommended way of setting up Sass in your project.
Step i. Install SASS globally.
The first step is to install SASS globally. To do that, run the following command in your terminal.
npm install -g sass
If you run into any errors, try adding sudo as a prefix.
sudo npm install -g sass
This will install dart sass globally from NPM.
Step ii. Create our directories
The next step is to create our SCSS folder and file along with our CSS folder. You can do that in the command line or just create the folders natively on your PC. To do that in the command line, type the following:
mkdir scss
Where mkdir stands for "make directory", so we're saying create a folder or directory called scss. Now add your sass file inside this scss directory.
Run the same command but this time for the CSS.
mkdir css
We don't have to create a css file because once we save the changes in our SASS file, it'll automatically create the css file for us.
Step iii. Watch SASS
Now we have created our directories, we need to activate the watch flag to watch the SCSS folder and compile any changes to CSS.
sass --watch scss:css
Now you can see the output in the command line that says Sass is watching for changes. Press Ctrl-C to stop.
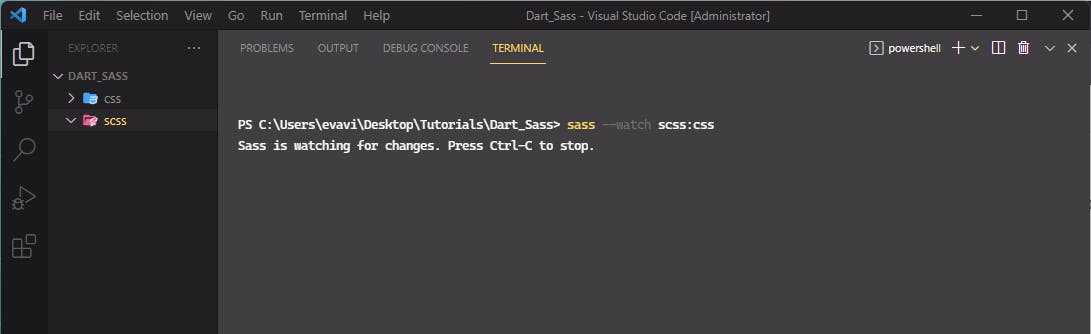
This command will constantly watch the SCSS folder and compile any changes we make to CSS
For some, your project may be structured differently by having the css folder inside a dist folder or any other way you may want it to be. If that is the case, you can use a forward slash to target the css folder within a parent directory(dist in this case) like so:
sass --watch scss:dist/css
Of course, for this to work, your css folder must be in the dist directory. 🙃
Finally, we have successfully gotten SASS up and running in our projects using Dart SASS Let's test it out.
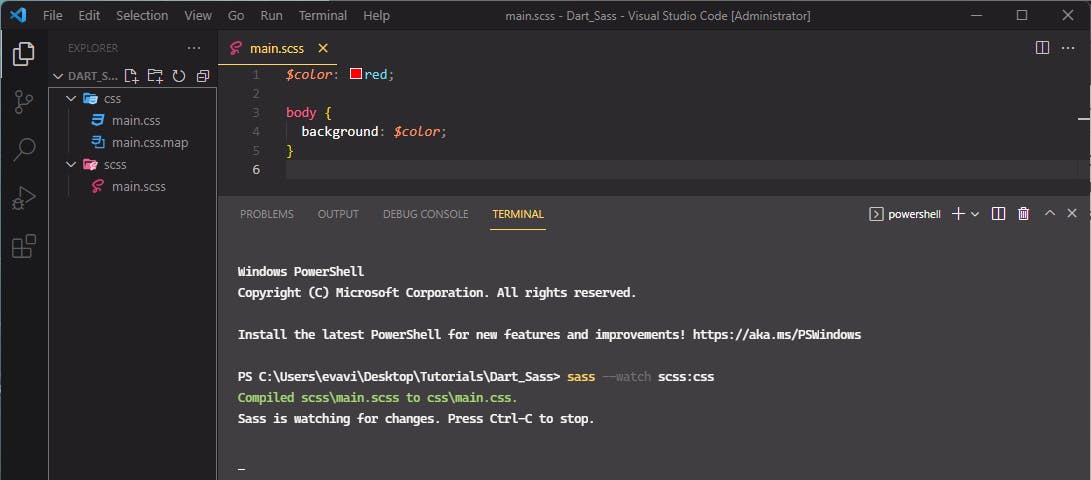
We can see a success message that says Compiled scss\main.scss to css\main.css.
Installation of Dart SASS locally
You can also install Dart SASS into your machine by downloading one of their packages and adding it to a path folder in your machine. You can read more on how to do that here. Available for Windows, Mac, and Linux.
Why Dart SASS?
Dart Sass has replaced Ruby Sass as the canonical implementation of the Sass language. We chose Dart because it presented a number of advantages. Read more
Below are other ways of setting up SASS in your project, though deprecated, still worth checking out. 👇🏾
1. Environment Setup With Node SASS

This is one of the first methods we'll be discussing. This involves installing sass using the node package manager(NPM), coupled with a simple NPM script that watches a certain folder where we created our sass files and complies it to regular CSS in the folder we specified.

Sounds like mumbo jumbo? 😅 don't worry, it'll make more sense as we go.
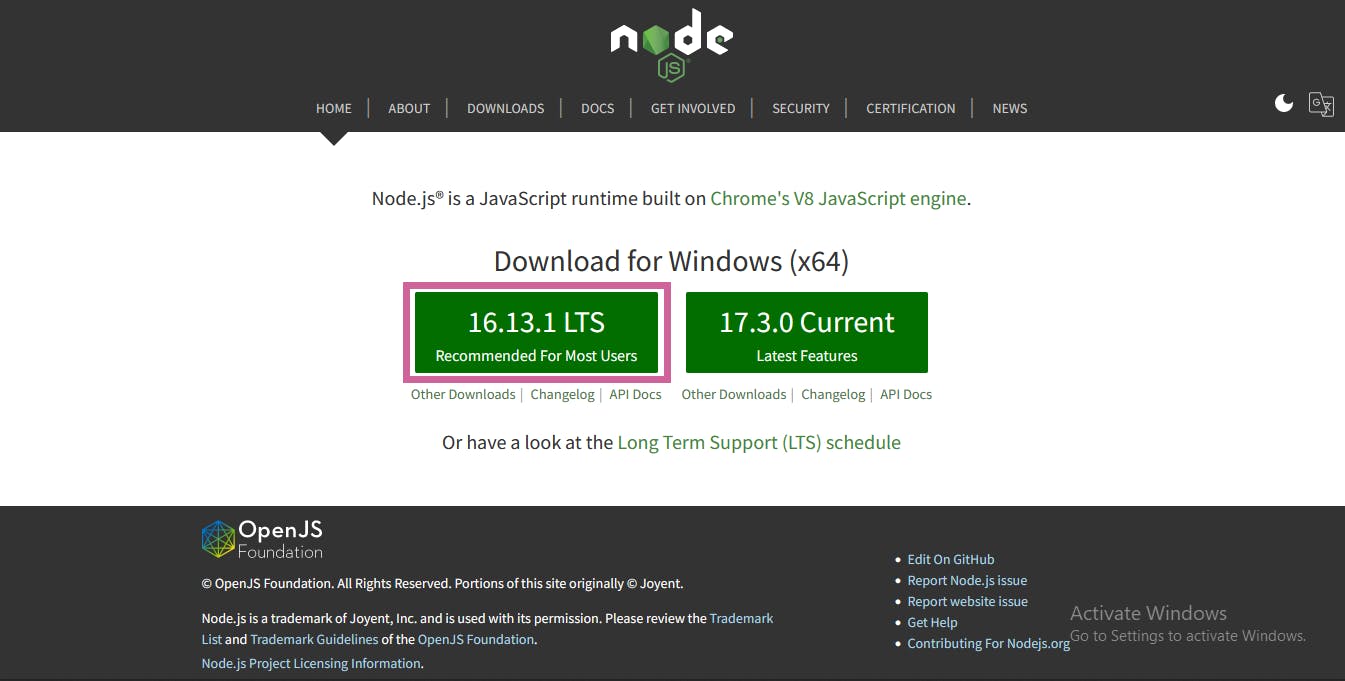
Step i. Download and install node
In other to use NPM to install sass, we have to download and install node into our PC. Visit Nodejs official website to download it. You can choose whichever version of node you would like to install, it doesn't matter in this case. I went with the long-term support version(LTS), but either one works.
If you already have node installed, skip this step.
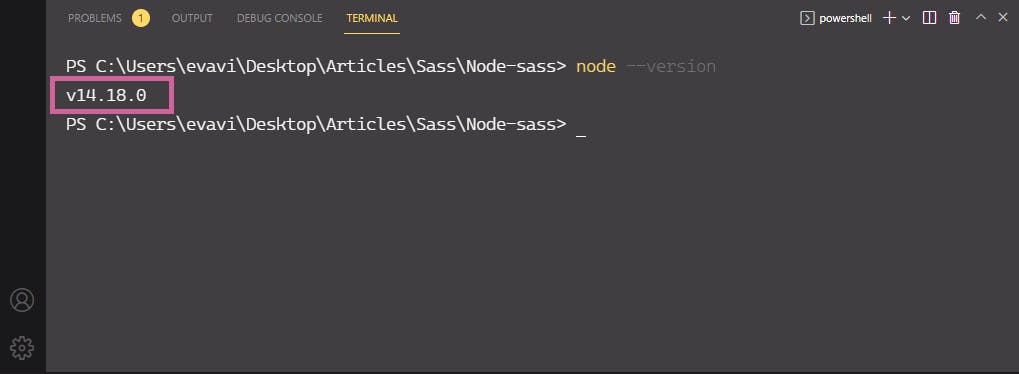
Now we're done downloading and installing node into our PC, to check if it was installed properly, open up your terminal or command line and type in node --version, and hit enter. This should give us the version of node currently installed.
Step ii. Create a package.json file
Since we're installing anything from NPM, we'll need to create a package.json file.
To do that, type the following command in your terminal.
npm init -y
The -y flag is used to skip any questions NPM will ask you and create the JSON file with the default settings.
This command will create our package.json file in the project folder, using the default settings.
Step iii. Install Node-sass
Now we have created our package.json file, we can install Node SASS which will install SASS in the node-modules folder, and add it as a dependency in the package.json file.
To install Node SASS, type the following command.
npm install node-sass

Now we have successfully installed node-sass in the node_modules folder and it is also added as one of the dependencies in the package.json file.
Step iv. Create an NMP script to run SASS
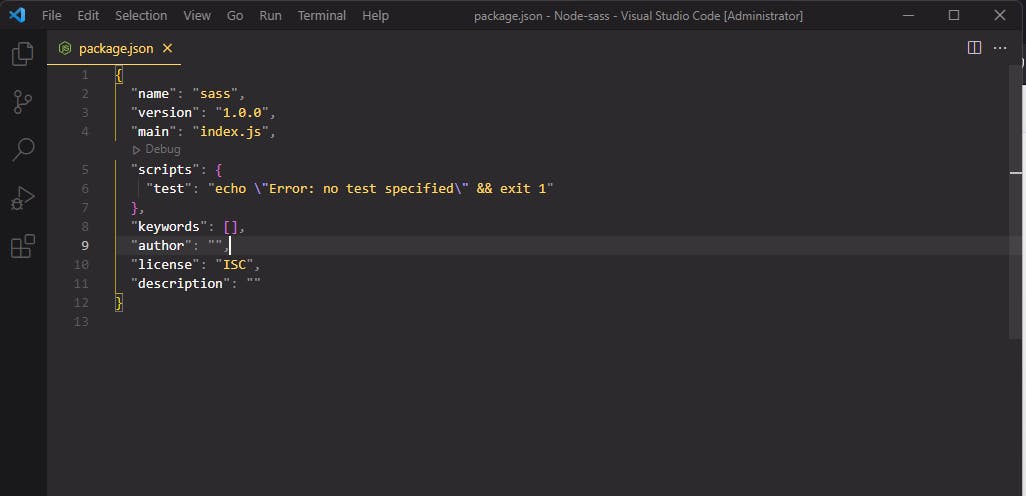
The next step is to create an NPM script that will allow us to use SASS in our project. To do that, modify
this line:
"scripts": {
    "test": "echo \"Error: no test specified\" && exit 1"
  },
and change it to:
"scripts": {
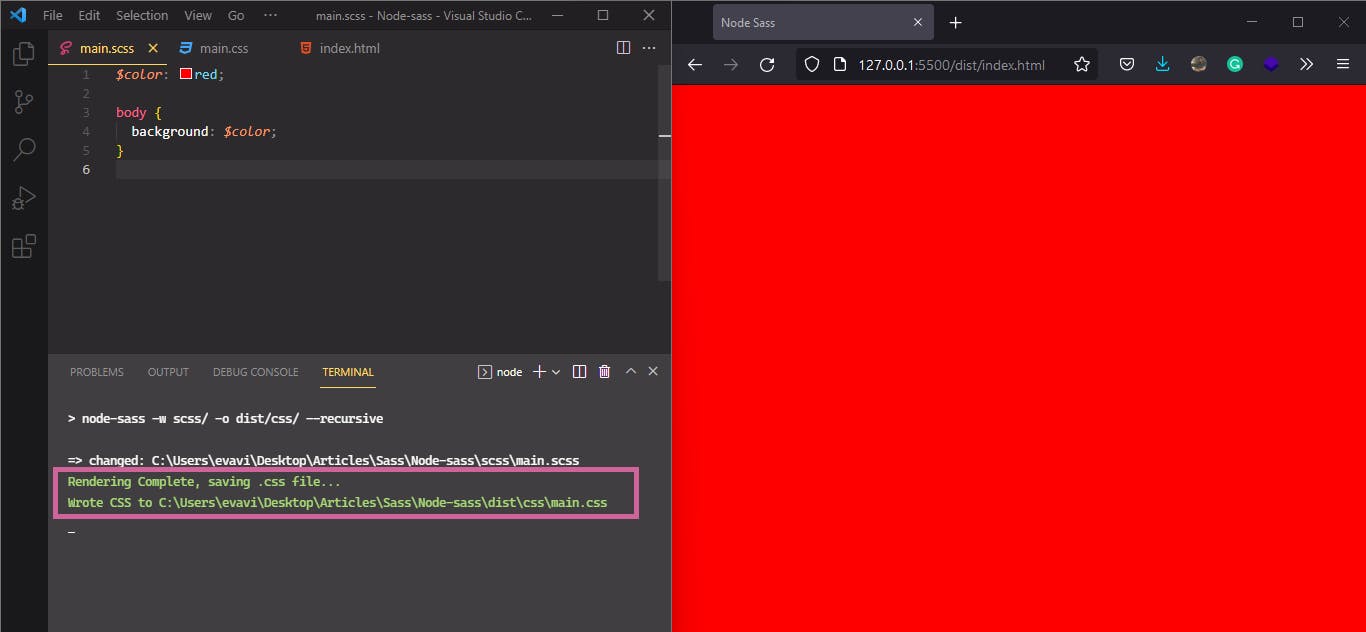
"sass": "node-sass -w scss/ -o dist/css/ --recursive"
},
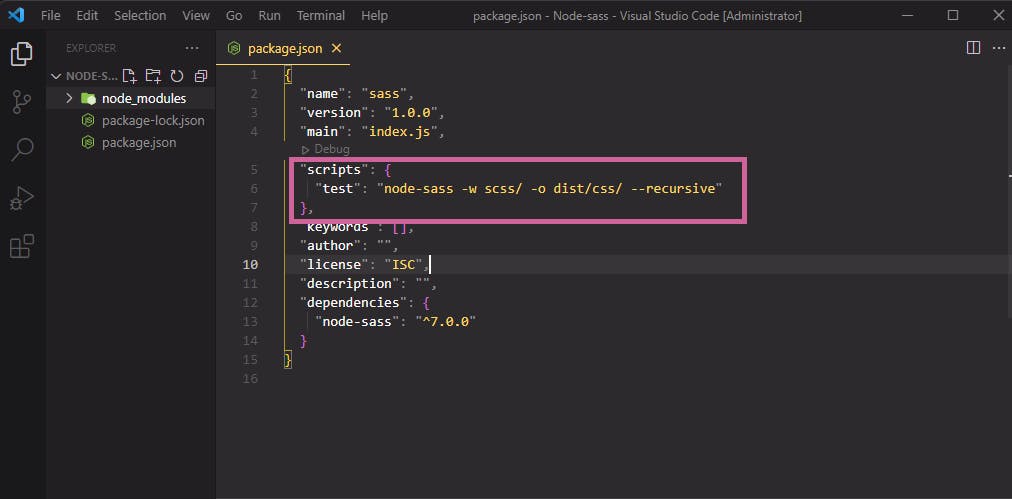
Here's what it looks like in our editor.
So let's go over this new script we added and explain what it does in detail.
- Node-sass: This is saying run sass.
-wis a watch flag that watches for an SCSS folder (You can name this folder anything you want, but this is where our SASS files will be saved.)-o dist/css/ --recursiveis simply saying, output the compiled SASS code into a dist/css/ folder.
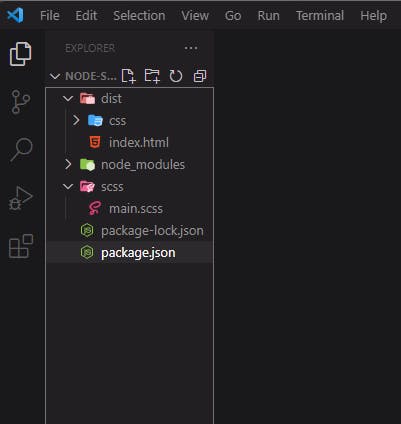
This is a basic page structure of our SASS project, you might choose to structure your project differently, don't forget to update it in your package.json file.
Step v. Create our respective folders and files
This next step is to create the appropriate files and folders for our SASS project, which will follow the page structure in the package.json file.
- Create two folders: dist, and scss
- Inside the dist folder, we'll have our HTML file, and CSS folder.
- And then finally, our
main.scssfile.
Step vi. Start SASS
After successfully creating the required folders, run the following command to start SASS.
npm run sass
This command will constantly watch the SCSS folder and any changes made to the SASS file will be compiled immediately to CSS in the dist folder.
Let's write some code to test this out.
// sass variable
$color: red;

body {
  background: $color;
}
And when we hit save, we get a success message on the command line that says: rendering complete, saving .css file which means our sass file will be compiled to regular CSS and give the desired output, which is a red background.
So that's how you set up SASS using NPM.
Issues with Node SASS

If you are using Node Sass in VS code, you might come across this issue that prompts an error in the command line when you save your changes:
Error: Unrelated file
Message: File to read not found or unreadable:
"formatted": "Internal Error: File to read not found or unreadable:
When this error happens, the changes you made at that time won't be compiled, you will have to keep hitting save until it shows success.
I took the liberty of researching about this error, and luckily, I found a patch that works just right for it. You can read more about it and how to fix it here.
Too lazy to do that, locate the file node-sass/lib/render.js inside your local node_modules folder and replace it with this code: github.com/marcosbozzani/node-sass/blob/bug..
That's it for Node Sass. Now let's look at other awesome ways.
2. Installation using Koala GUI Compiler

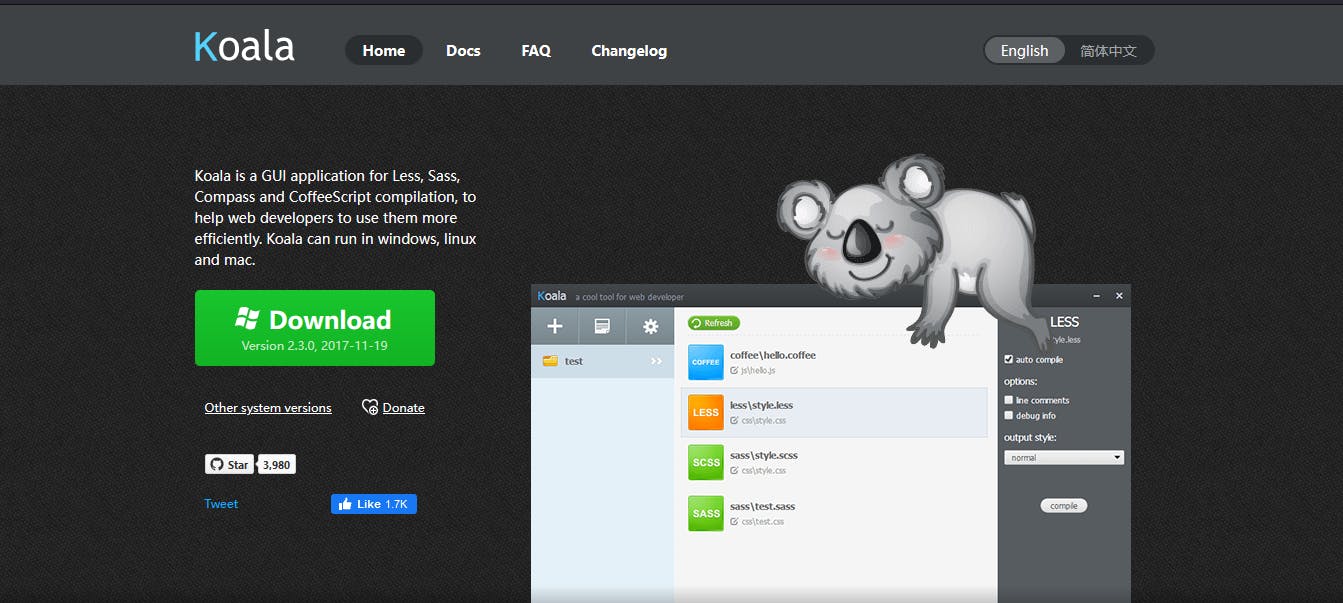
Koala is a Graphic User interface(GUI) application for compiling files like SASS, LESS, Compass, CoffeeScript, ETC.
If Node-sass was tedious to set up and use, you can check out this GUI tool that allows you to set up sass just by clicking some buttons.
Step i. Install Koala GUI
To install Koala, visit their website Koala-app.com and download it into your machine. It is available for Windows, Mac, and Linux. So download and install it.
Step ii. Create the respective files and folders.
Create a new project folder and inside, we'll have our scss and dist folder.
- Inside the SCSS folder, create a new file called
main.scss. You can name this whatever you want as long as it has a file extension of.scss - Inside the dist folder, we'll have our index.html file and CSS folder which contains our main.css file.
Step iii. Add project folder to Koala
There are two ways to add a project to Koala, you can do a simple drag and drop into Koala or add the project using the plus sign on the top.
If you're adding through the plus sign, locate the project folder and select it.
Once we add the project folder to Koala, it will automatically compile the SASS file to CSS.
By default, the compiler will put the CSS file in the same folder as the SCSS file, along with a css.map file. If you don't like that, you can direct it to go into the CSS folder in the dist by
- Right-clicking on the
scssfile and select Set output path
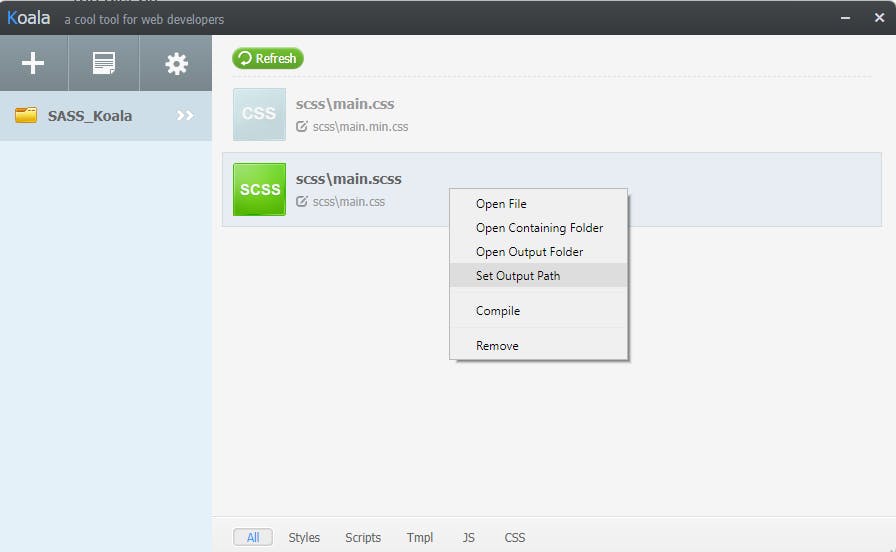
this will prompt open a folder, locate the main.css file inside the dist folder, select it and then hit save.
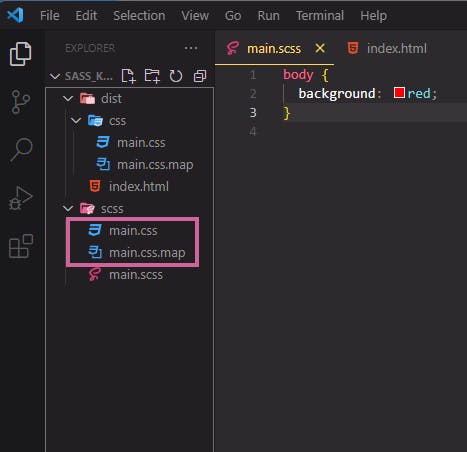
Now you can delete the main.css and main.css.map files in the SASS folder since we changed the folder structure.
To compile to the new folder, click on the SASS file in Koala and click compile You can also turn on auto compile so that when we save, it'll automatically get compiled to CSS.

3. Live SASS VS Code Extension

Live SASS is an awesome extension by @ritwickdey(author of Live Server) for compiling SCSS/SASS files at realtime with live browser reload.. It is super easy to use and set up. If you're using VS Code, I strongly suggest you check it out.
Step i. Download & Installation
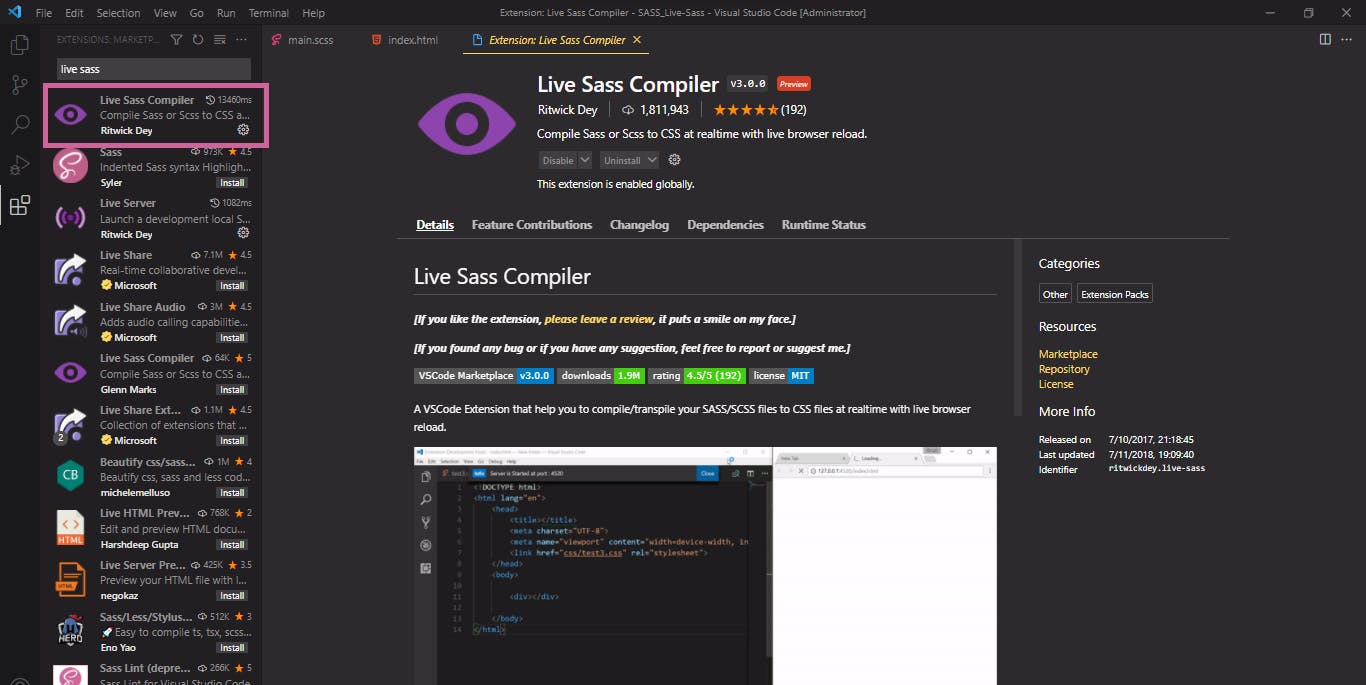
You can download live sass from visual studio code extensions or marketplace online.
- Open up the extensions tab on VS Code and search for live sass. Install it into your PC.
- Once Live Sass is successfully installed, you should see a button on the bottom of your editor that says Watch Sass.

If you click this button, it'll compile your SASS file to CSS in the same folder. So let's look at how we can configure this.
Step ii. Configuration
Just like Koala GUI, you can specify the output folder you want the CSS file to be saved in.
- Go to your VS Code settings and search for live sass.
- Click edit in settings.json
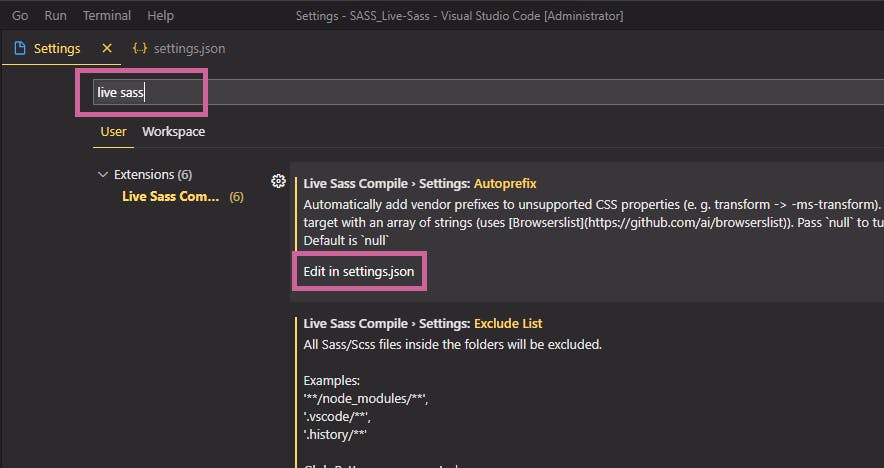
- Inside the settings.json file, scroll to the line that says:
savePath: nulland edit it with the directory you want your CSS file to be saved in. If you don't have this line, you can copy this code below and paste it into yoursettings.jsonfile.
Code Sample
   "liveSassCompile.settings.formats": [
    {
      "format": "expanded",
      "extensionName": ".css",
      "savePath": "/dist/css/"
    }
  ],
"liveSassCompile.settings.generateMap": false,
- On the
savePath: nullcommand, we're targeting a folder called css inside the dist folder. - The
liveSassCompile.settings.generateMapis used to toggle the CSS map file from showing, when we compile our SASS file. The default value istrue, set it tofalseif you want it to be hidden. - Save and exit the
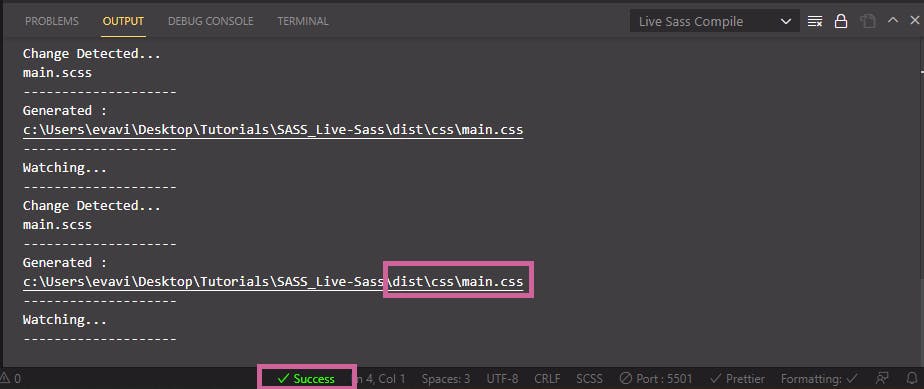
settings.jsonfile. - Click the watch sass icon and when we hit save, it should compile to the newly specified folder.
Tip: This setting will persist for any SASS project in VS code, so you don't need to do this for every project.
Final Words
Installing and setting up SASS for the first time might be a bit challenging, so it's okay to keep referring back to this article from time to time. 💯 And like anything you're learning, it'll become easier with time. While following this article, If you ran into any issues, check to see if you linked your CSS file properly to the HTML and If you're using Node SASS, make sure Node sass is running to avoid smashing your computer to a wall, I know I almost did. 🥲
Also, it's good to remember that these are not the only ways you can install and compile SASS to CSS. There are other software, though mostly paid, that are available to use. You can read the SASS documentation for more info on that.
Important links to checkout
Thanks for reading, have any questions or contributions, you can leave them in the comments below. I'll be releasing another article on how to use SASS shortly, so be on the lookout for that. In the meantime, keep coding and don't let the error bugs bite.